Google+
Showing posts with label Out The Door Top Coat. Show all posts

Tuesday, April 2, 2013

Autism Awareness NOTD

Hello everyone!
I hope you all are having an amazing day!

Today, April 2nd is World Autism Awareness Day. I personally don't know anyone that has Autism, but that doesn't stop me from wanting to help raise awareness for it!
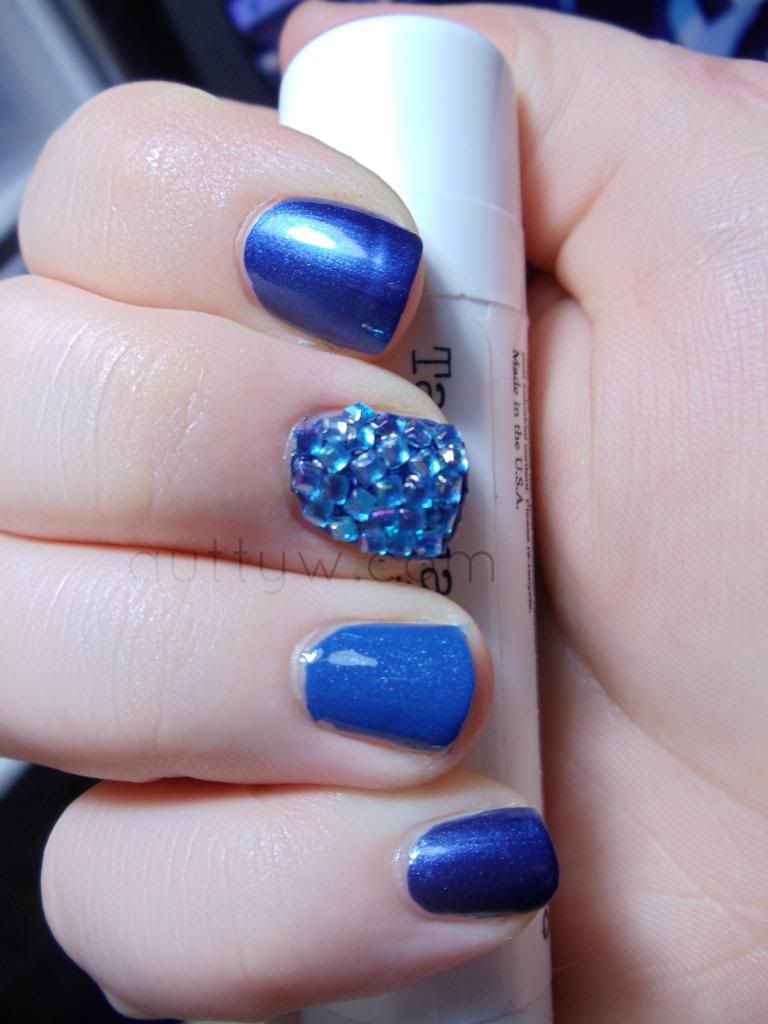
Autism Awareness' color is blue. I know a lot of other bloggers are doing manicures as well and I kind of wanted to join in on it! I figured it would be fun to do something out of my norm.

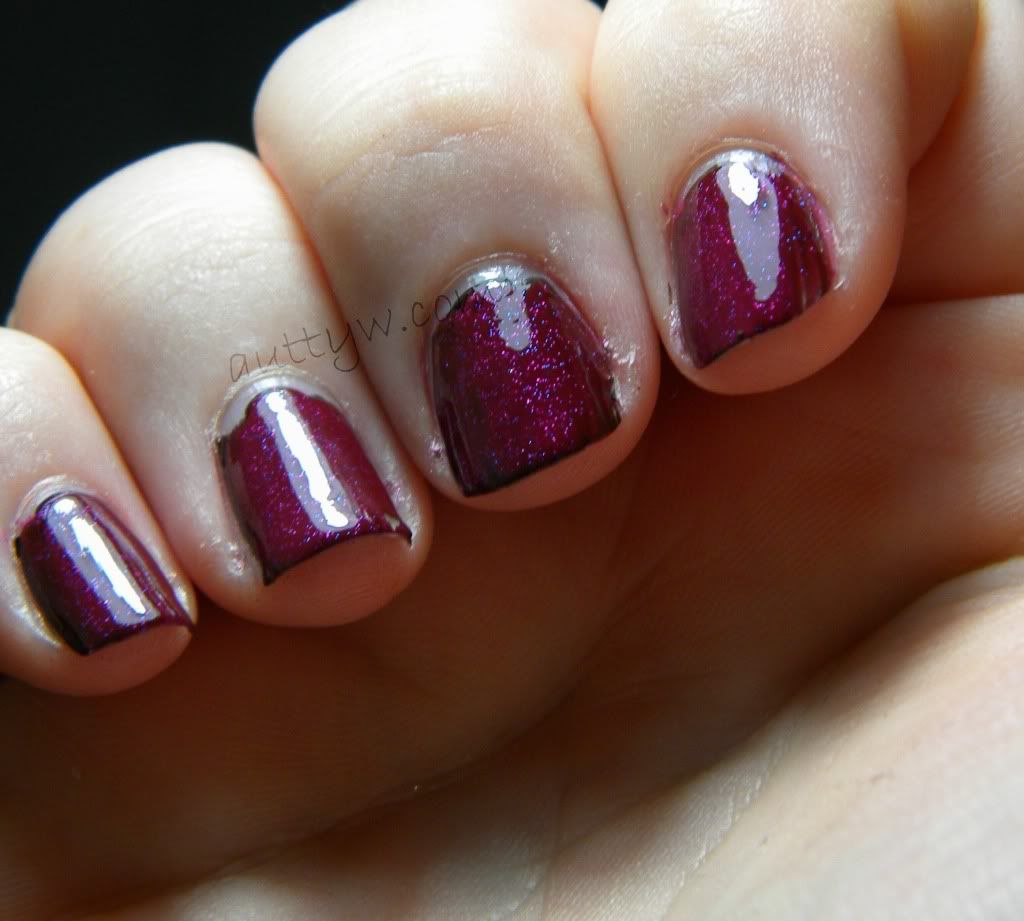
For this manicure I wanted to use one of the polishes that I received in the Central Florida Beauty Bloggers Swap.

Friday, January 11, 2013

Top Coat Throwdown

Heya loves!

Before I get into the purpose of this blog post, I just want to restate a few things from my earlier post. I did switch blogging platforms because it was becoming an issue with people only being able to subscribe VIA email. So I eliminated that (kind) and switched to Blogger from Wordpress. So unfortunately yes, you will have to re-subscribe (if you were previously) but you can do so through GFC (Google Friend Connect) or once again VIA email. I do want to point out, that for an upcoming giveaway or two, GFC will be part of it and what not :)


ANYWAYS, so what we are here about today!

I was just going to have this be a NOTD (Nail of the Day) post then I remembered I told a few people I was going to do a comparing blog post of these two top coats... or at least a review of one of them. I figured I would compare them, since they are the two that I currently am switching between. Maybe down the road a little bit I will do comparisons of the 3 I have, heck maybe I will even have a few more baha. Anyhoobles.

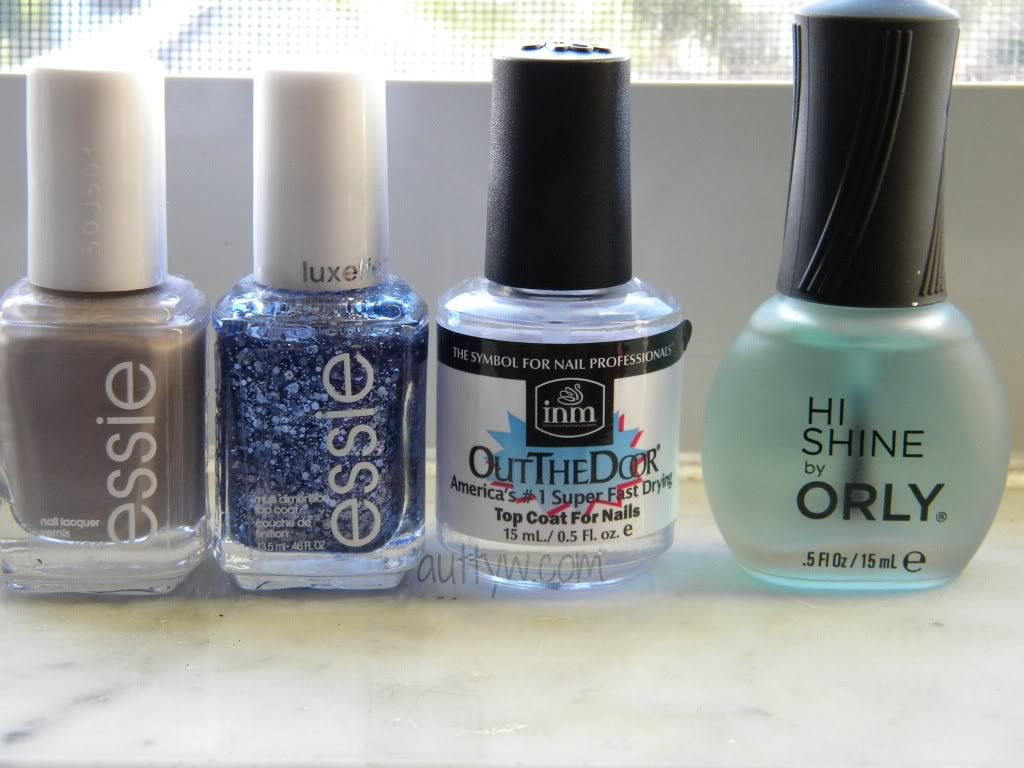
The two polishes that I used were both from Essie. The lilac-grey color is Miss Fancy Pants and the glittery parts is Stroke of Brilliance from their Luxeffects line.
 My basecoat is the Sally Hansen Continuous Growth Treatment (being discontinued scoops this bad boy up ASAP it's amazing..also.. it's not pictured below)

For my Top coats I used Out The Door and ORLY HI Shine.
Out The Door can be purchased at CVS and Sally Beauty Supply, I'm not sure where else. CVS is where I found mine.
HI Shine .. well that is a different story, I found mine at TJ Maxx, but I've never seen it before and apparently neither have a few nail bloggers I talk too.. I got this for $4.99 at TJ Maxx.

Out The Door claims to be Americas #1 Super Fast Drying top coat. I do agree with that, it does dry extremely quickly. However, don't expect to be able to walk out the door, especially if you didn't wait for your nail polish to fully dry (without realizing it..this happened to me)
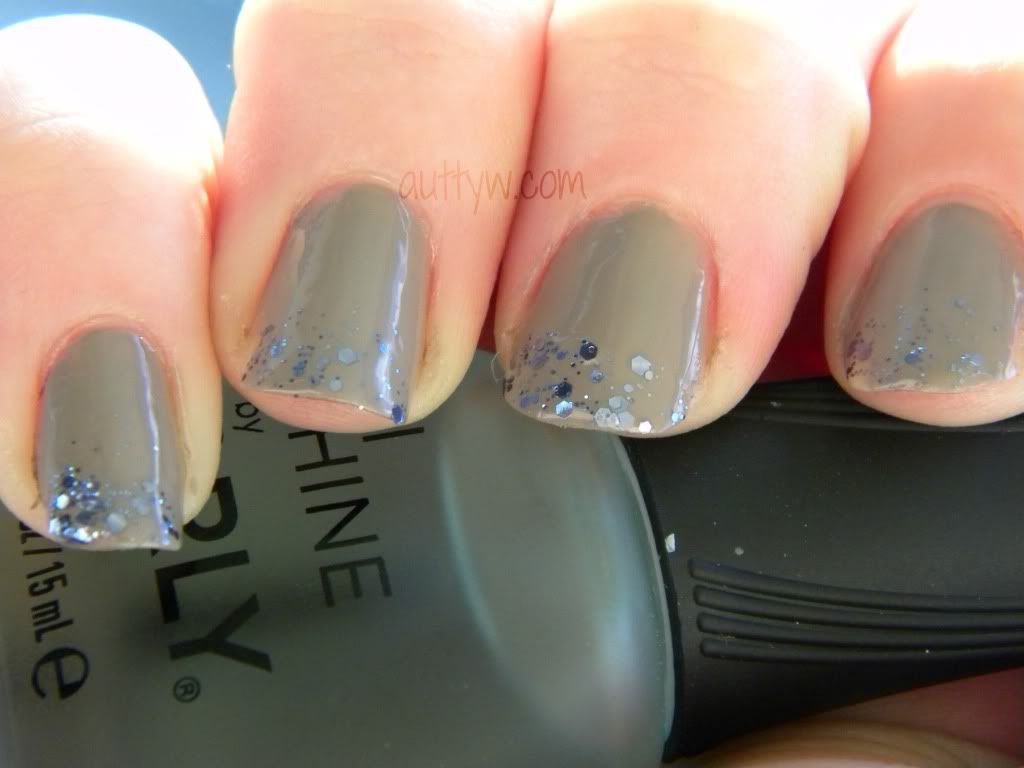
You get a pretty nice amount of shine out of this top coat. On my pink and ring finger I used two coats and on my middle and index fingers I used 1 coat.. Just to show. You do get more shine if you use two coats of it. However, two coats is not necessary, especially if you are not using a top coat eater (like glitter) this glitter topcoat I used isn't a TCE (top coat eater) thankfully, but I still did 1 and two coats just to show. This is an absolutely lovely top coat. This also claims to be "long-wearing" and will not yellow... I've never had a top coat "yellow" on me, I didn't even know it could happen... As for long wearing, for me, it is long wearing. I can't say days and days because I have shoddy nails and nothing lasts days and days on me. No matter how much prepping or anything. It is just the nature of my nails I guess. HOWEVER this one does last longer than other ones I have tried so yay on that!


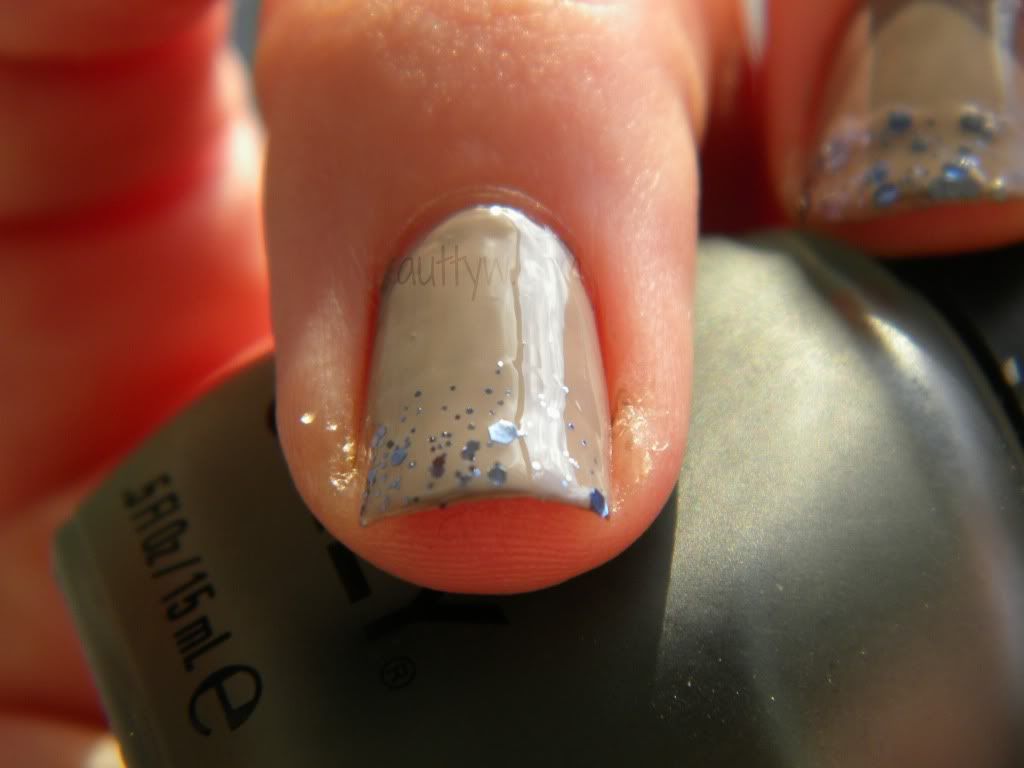
ORLY's HI-Shine is new to me..well kind of, I've had it for a few weeks, but new to me as in I've never seen it before. In the bottle this has a blue tinge to it, but comes out clear when used. The brush for this, in my opinion leaves something to be desired. Don't get me wrong, I like the brush itself, but not the way it is cut. It is cut in a really wonky manor that if you don't check to see if your nail polish if fully dry, it can tug and pull it.. it happened to me on this manicure actually...on my pinkie to be exact. I really do like the bottle of this, I'm not sure what it is, but it just reminds me of being slightly vintage-y.. it's a me thing okay? This handle of this, has the typical rubbery ORLY handle, which I actually quite like. I do find that between the two of these, Hi-Shine is more "shiny" or glossy if that is what you prefer. Particularly, it does make the nails looks sleep and finished, even when they are painted a little shoddy.. ( I did my nails in half darkness..no shame) It also makes them look even.. thankfully. On my left hand, I'm not sure you can see it in thee pictures, you can tell the polish was uneven.. where as on my right hand (this top coat) it looks even and just.. dare I say perfect? .. Well not really perfect, but you get my point? As for HI-Shine, I think that there are top coats out there that can give you a more shiny effect, however this one is pretty shiny.


Between the two top coats, it is hard to say which one I like better. I actually quite like both of them honestly. It really boils down to what nail polish I use on my nails per which one comes out looking better. Does that make any kind of sense? I've had times where the Hi-Shine was out shined by the Out The Door and vice versa.


Here is an example of what I mean by one out shining the other. On the left (pinkie/ring) is Out The Door on the right is HI-Shine. (middle/index)

Oh! All pictures were taking as the sun was halfway up in the sky.. aka morning light :)

Have you tried either of these top coats? Which is YOUR favorite Topcoat? I am ALWAYS on the lookout for a new one! xx


Monday, December 24, 2012

Wearing Your Heart On Your Nails .. Tutorial

Hello everyone!

This is my first time doing a nail "tutorial". So please bear with me! xx

In my NOTD for my birthday, I had put hearts on my nails and had asked if you wanted me to show you how I did them.  The lovely Rose wanted to see how it was done, so I figured I better do it before I forget. I'm going to be wearing these nails for Christmas so I did them in red and green. The hearts are a bit hard to do at first I must admit, but once you get it down how to make them, it goes pretty quickly.

You could use a dotting tool, but I don't have one. I used a Bobby pin, it's pretty much works the same way as a dotting tool. You just have to be a bit careful with the end of the bobby pin, I have realized that. So onto the tutorial!

Oh.. I am by no means good at doing nail art, so please don't mind them :P

What you will need:


1 bobby pin pulled apart


Your nail polish's of choice


Base coat


Top coat


Something to put your nail polish on.


Cuticle Oil (extremely optional)


directions:


First of all, you need to paint your nails. It doesn't matter the color. For this I used China Glaze 3D Fantasy. It's a holographic red polish.(it has been discontinued unfortunately, but with the influx and popularity of holographic polishes you will be able to find something like it.) I used two coats of this. I was to STRESS THE IMPORTANCE of letting this base coat dry completely. To where you can press on your nails and not seen any type of indentation. If your nail polish is not completely dry, it will mess the rest of your nail up.


Take your second color and place a small amount of it on the surface you choose. (It could be a piece of paper or I used the lid to my Bath & Body Works candle since I can clean the polish off and reuse it) With this step, do not place a lot, because it will start to dry and could mess your nail up as well.
Make your two dots on your nail where you want the heart to be. In this picture I places them pretty far apart, but the closer the dots the better the heart comes out in my opinion. The farther the dots the bigger the heart and it becomes a bit more complicated to get it looking uniform. This nail polish is Orly's Jealous, Much?


How far apart you place your dots also depends on the side of your nail as well. My ring finger's nail is quite large so.. :P


The next step requires you do dip back into where you places your spot of polish. The reason for this, is so that it is easier to drag down and create your first part of the heart.


Place the bobby pin in one of the first dots and draw down in a diagonal. Then repeat with the other dot.


And there you have it! Your very own heart manicure! This is perfect for valentines day, BUT I am deciding to use this for Christmas. :)


Let the heart dry and apply your top coat. If you want your nails to be completely smooth, you may need to add a second layer. In the picture above, there is no top coat as of yet because I am not quite done, they needed to dry :P


On the tips of my nails I used China Glaze Glistening Snow and on my left for the hearts I used Jolly Holly from China Glaze's 2011 Holiday collection.


(Okay no idea what happened to my nails. Over night they chipped and the polish shrunk. I'm very sorry for them looking like crap in the last two pictures.)


For my base coast I used Sally Hansen's Continuous Growth treatment and my top coat is Out The Door.


Tip: The hearts that you do with your dominant hand will wind up looking better than those done with your non-dominant hand..at least that is how it is for me :P


If you try this out, tweet me a picture! I would love to see how they come out!


Signature 2

Thursday, December 20, 2012

Birthday Nails!

Hello everyone!

I hope you all are doing well! Have you gotten your Christmas shopping done?! I know I haven't. I only have to get a couple of things though, so it's not too bad! :P

Since my Birthday was the 19th, I wanted to try a little nail art.

I painted each hand opposite of the other.


This was my first time ever trying to do any type of nail art, so they aren't perfect but I thought they were extremely cute!! :D


The polishes I used were:


Sally Hansen Continuous Growth Treatment


Orly Artificial Sweetener (pink)


Orly Faint of Heart (grey)


Out the door top coat.


(I won these in a giveaway, I know they were a collection, but I'm not sure you can get them anymore :( )


To make the hearts I just used a bobby pin :) Do you want me to do a tutorial showing how to do it?


Oh, that random piece of red on the one nail, is a piece of a rose. I was slightly bored when I started doing these nails. Haha.


I really love how they turned out! :D


Signature 2