Hello Hello!
I know, I know. I do have more beauty posts that I want to get done, I just simply haven't had the time! I have however, been baking and preparing some things for the Holiday season(s). I do have posts planned! They will be coming soon, I just wanted to get this out quick with Thanksgiving on the way!
I have made this recipe a few times, but let us not kid ourselves I ate it, it did not go into a pie. Don't judge me. Also, because of that "Earth shattering" revelation that Libby's canned pumpkin puree is NOT actually pumpkin 9 times out of 10, I have heard a lot of people saying they want to make their own. It is super simple! Don't shy away from making it yourself! Plus, I mean you could always make ravioli with it or something else! You don't have to make a pie with it! The sky is the limit!
 I am not going to beat around the bush, this kind of can turn into a process depending on how much liquid your pumpkin decides to give off. You could get a dry pumpkin or even a moist one! You can't really tell until you are done cooking it.
Don't go out and buy a HUGE jack-o-lantern pumpkin, because those don't really work. You need one of the small pie pumpkins, which is what we shall be using. If you want a big pumpkin I would say they may be better for eating...not so much baking...They are grown to be huge, so they may have less flavor then one of the smaller ones.
Preheat your oven to 375°F.
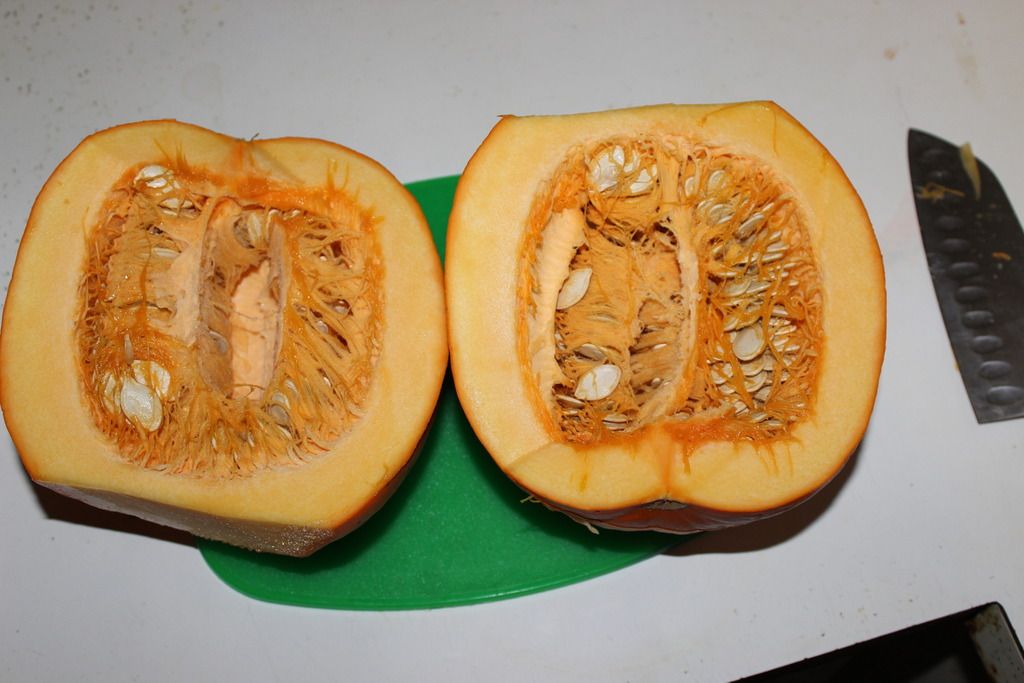
 Cut the stem of your pumpkin off and then cut it in half and clean all of the seeds out of the inside of the pumpkin. This is pretty important, because you can get rid of all of the stringy bits and roast the seeds later.

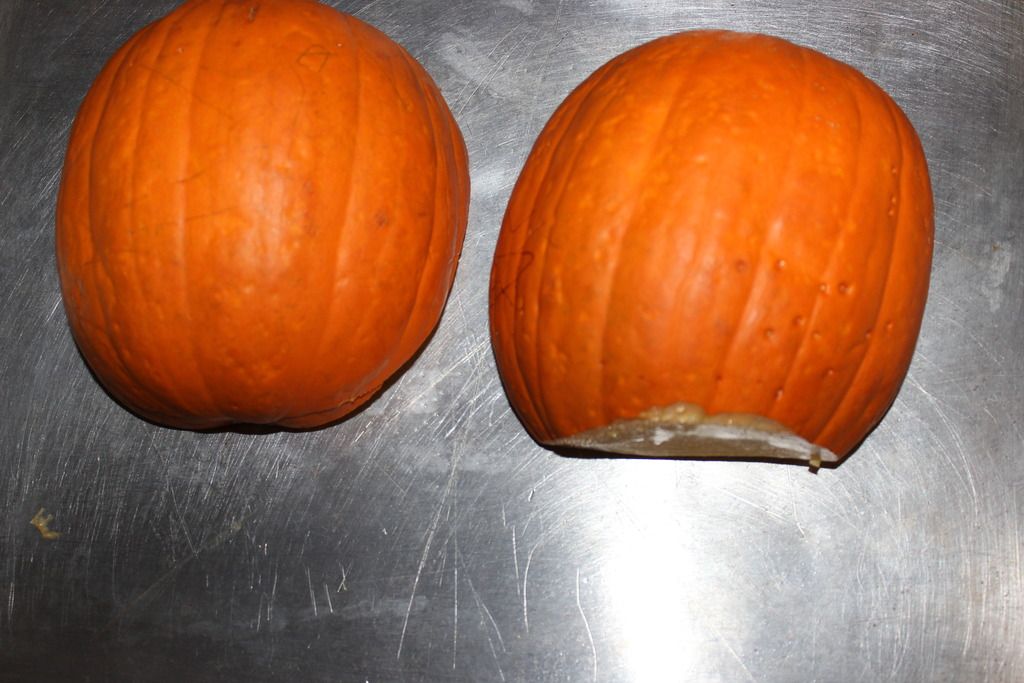
 After you have cut your pumpkin in half and cleaned it out, put it cut side down on a baking sheet. You don't need any oil or any sugar. Roast the pumpkin for 45 minutes, or until the skin darkens.
 The pumpkin flesh should start to pull away from the skin, but if it doesn't don't fret. I don't feel that it is that big of a deal. The biggest thing you want to make sure happens, if that the whole thing is soft. You want the whole pumpkin to be cooked!
 Let the pumpkin cool down enough to where you can handle it. You should be able to peel the skin away from the flesh, if not don't worry! You can always take a spoon and just scrape it out! That is what I did!
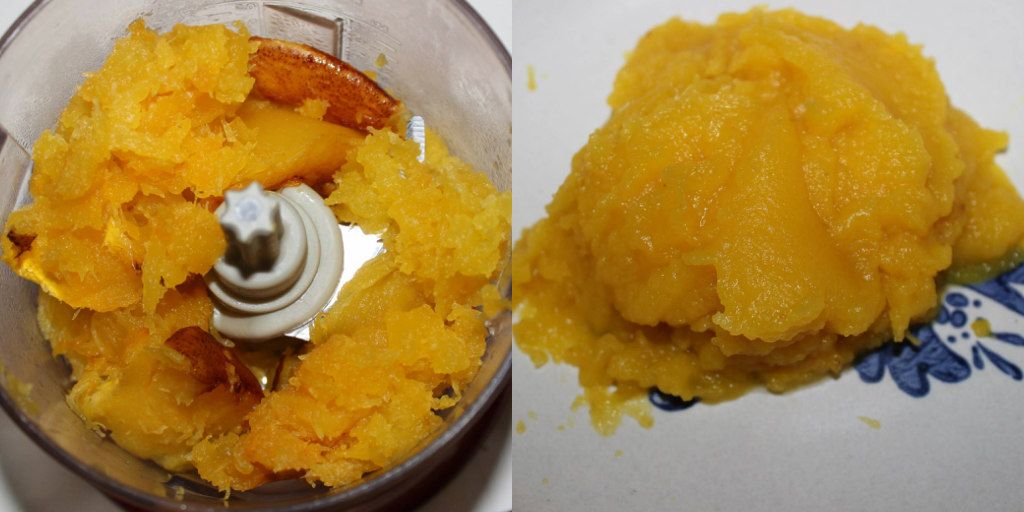
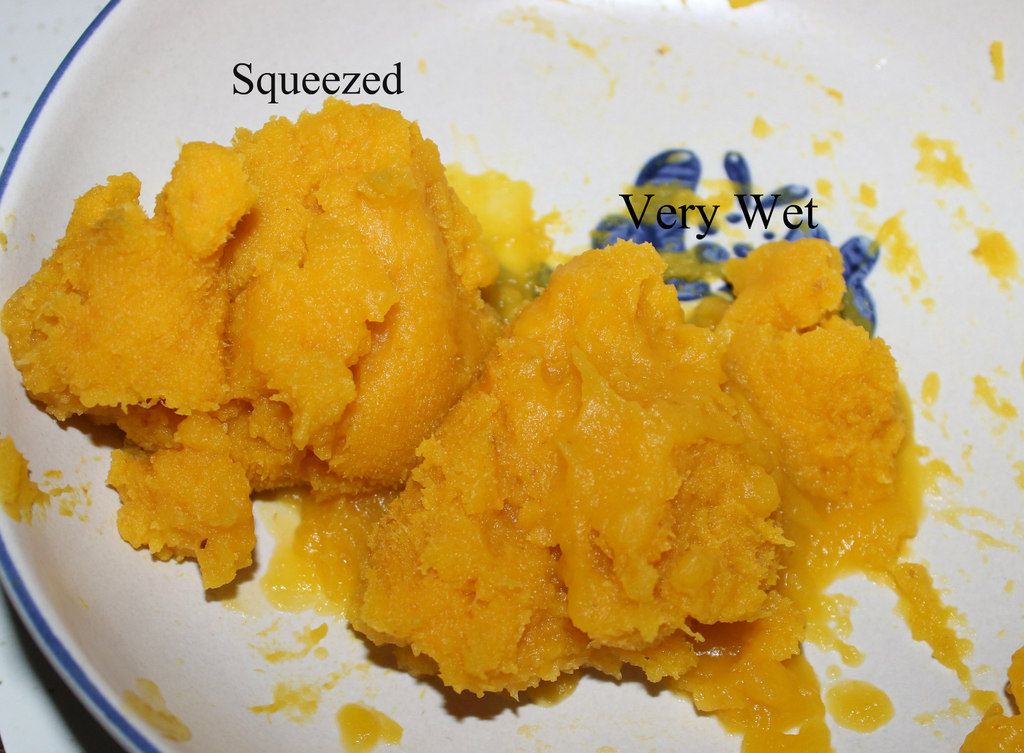
 This really is when you find out the water content of your pumpkin. Unfortunately, the water content in mine was high...so this is really where it becomes a little tedious. After you process your pumpkin you need to let it drain. I used my mesh strainer, but ultimately in the end I ended up using cheese cloth and just squeezing out as much of the water as I could.
 Don't waste your pumpkin juice though! I actually poured it into my hair, because it is good for that and lawdy loo. I had some pretty shiny and nice hair for a week!
Anyways, you want to try and get out as much of the juice as you can, it will make for a better puree, especially if you are going to use it in a pie. Don't make it as dry as the desert though!

One small pie pumpkin gave me 1 CUP of pumpkin puree. I know, that doesn't seem like a lot! Especially for the work, but one cup of pumpkin is what you need for a pumpkin pie. So I am happy with what I got out of it. That is the exact amount that I needed!
Freezing wise, I have seen people say to not do it and some who say freeze it for 6-8 months. I never usually freeze mine, but I made my pumpkin puree about a month before I actually needed it.
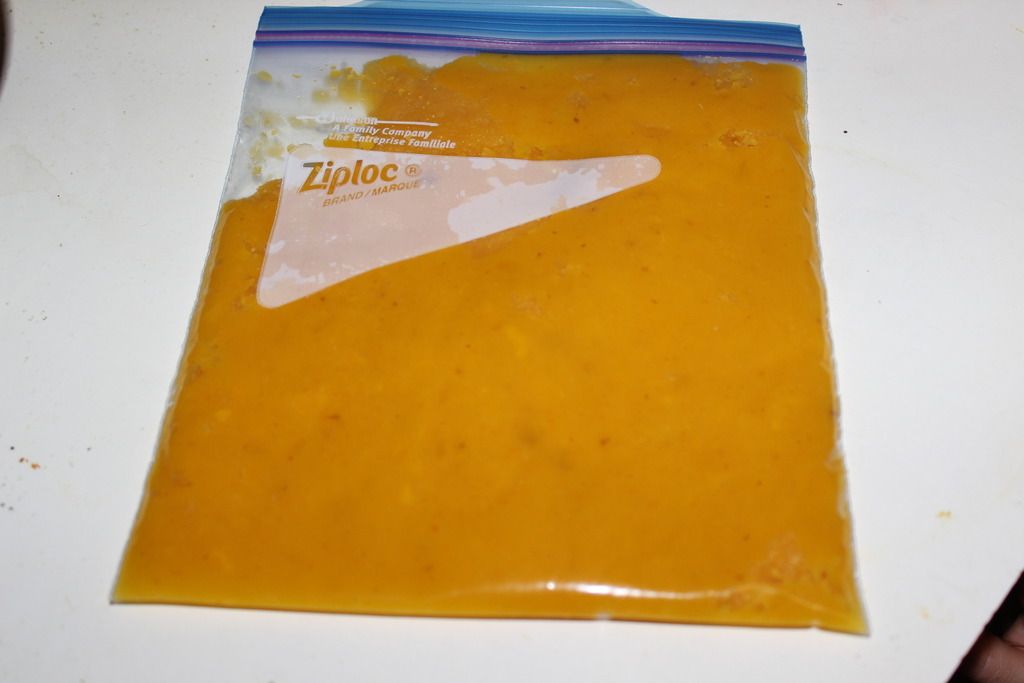
 Once you have your pumpkin ready, just throw it in a ziploc bag and label it for the freezer!...or don't because I sure as heck didn't!
So what do you think? Is this something you would do instead of using the canned pumpkin?!
I know, I know. I do have more beauty posts that I want to get done, I just simply haven't had the time! I have however, been baking and preparing some things for the Holiday season(s). I do have posts planned! They will be coming soon, I just wanted to get this out quick with Thanksgiving on the way!
I have made this recipe a few times, but let us not kid ourselves I ate it, it did not go into a pie. Don't judge me. Also, because of that "Earth shattering" revelation that Libby's canned pumpkin puree is NOT actually pumpkin 9 times out of 10, I have heard a lot of people saying they want to make their own. It is super simple! Don't shy away from making it yourself! Plus, I mean you could always make ravioli with it or something else! You don't have to make a pie with it! The sky is the limit!
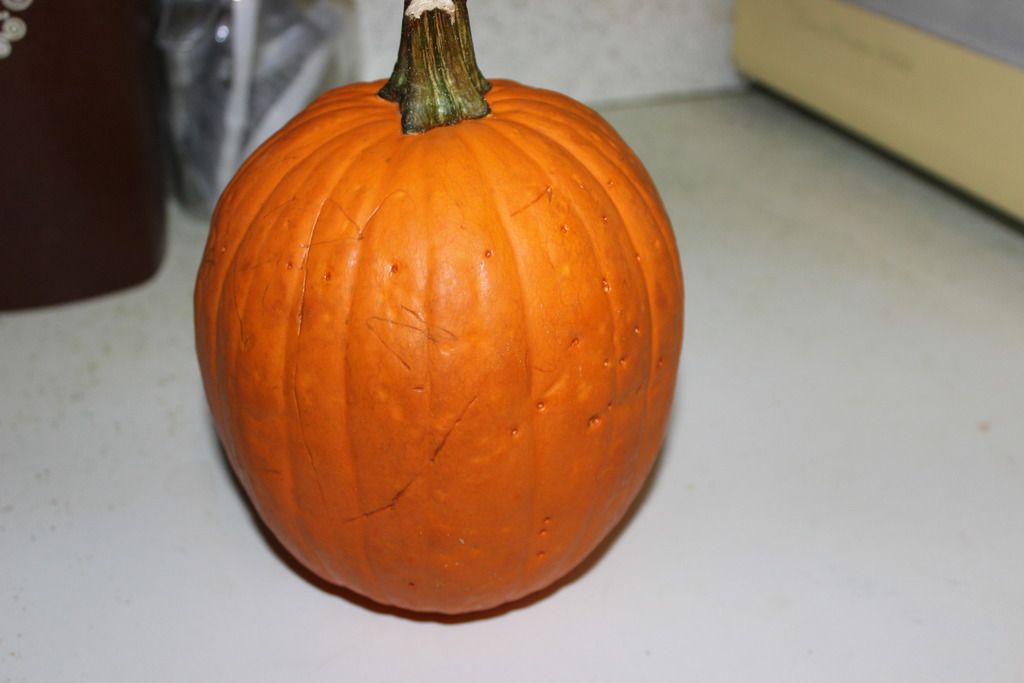
Don't go out and buy a HUGE jack-o-lantern pumpkin, because those don't really work. You need one of the small pie pumpkins, which is what we shall be using. If you want a big pumpkin I would say they may be better for eating...not so much baking...They are grown to be huge, so they may have less flavor then one of the smaller ones.
Preheat your oven to 375°F.
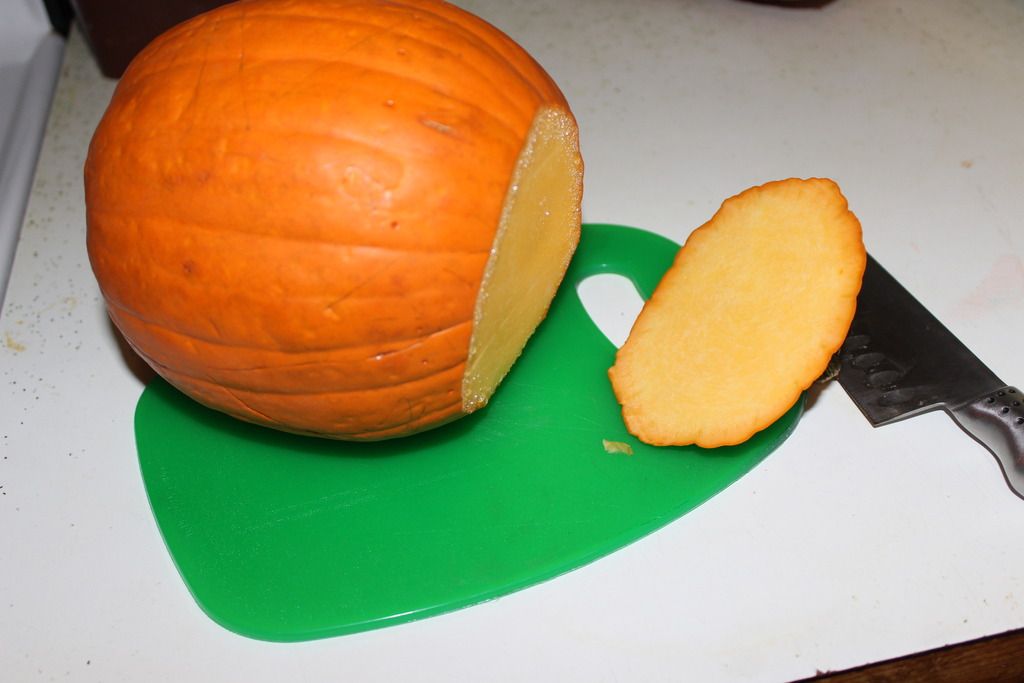

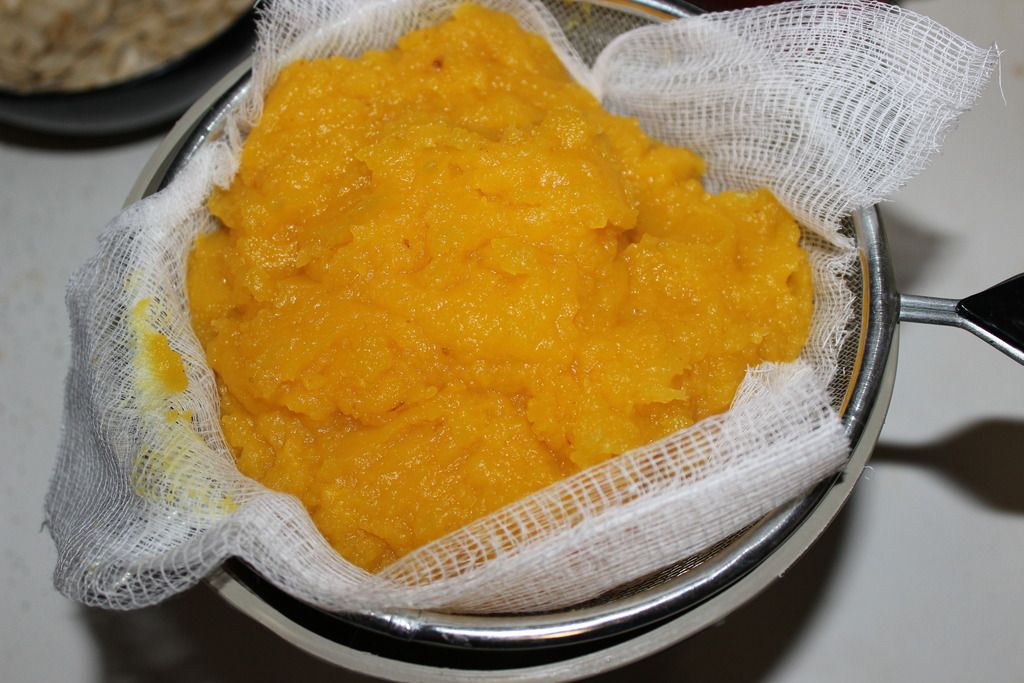
Anyways, you want to try and get out as much of the juice as you can, it will make for a better puree, especially if you are going to use it in a pie. Don't make it as dry as the desert though!
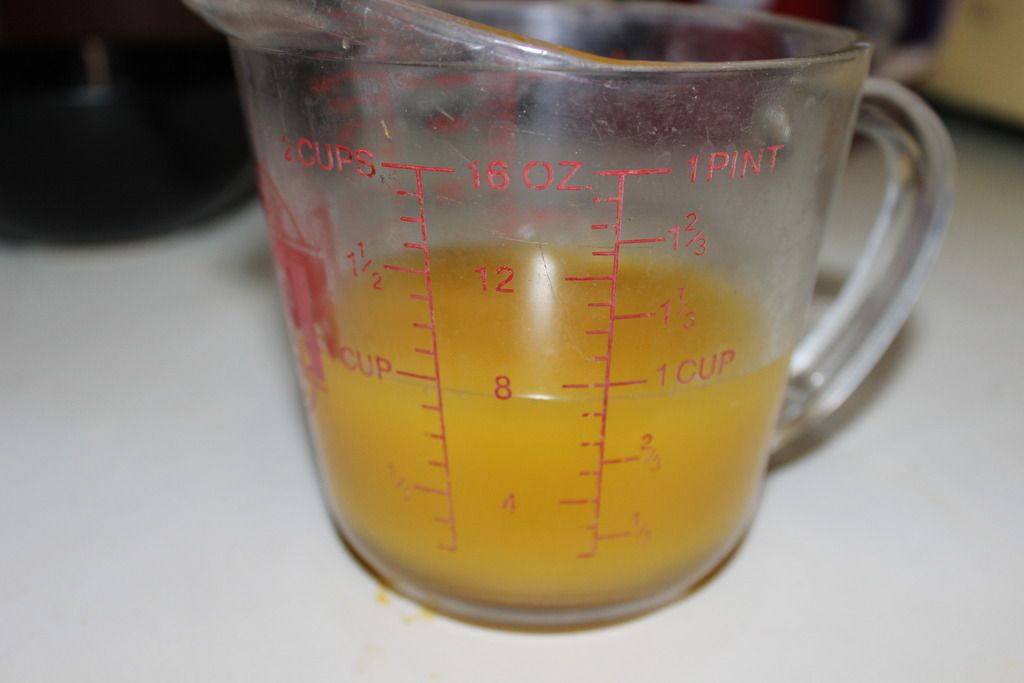
One small pie pumpkin gave me 1 CUP of pumpkin puree. I know, that doesn't seem like a lot! Especially for the work, but one cup of pumpkin is what you need for a pumpkin pie. So I am happy with what I got out of it. That is the exact amount that I needed!
Freezing wise, I have seen people say to not do it and some who say freeze it for 6-8 months. I never usually freeze mine, but I made my pumpkin puree about a month before I actually needed it.
So what do you think? Is this something you would do instead of using the canned pumpkin?!